Hey gang!
So going down in Hong Kong right now is Reventure, 3A’s art and toy show. This is where Ashley Wood gets to display a ton of his fantastic art and 3A show off bunches of their new stuff coming down the tubes. We decided not to take the fact that we could not attend this year sitting down and took it upon ourselves to scour the web for every drop of imageration (word?) we could find. We did this, so you don’t have to!
Warning: No re-sizing or formatting for this thread as none of these images are our property. Credit listed under each image.
Check back often as we’ll update this thread as new images become available.

not strictly ReVenture.. but get to see Bouncer Ankous in contrast
pic by Kadoo

TOTEM opened!
pic by smurfy

more TOTEM
pic by pepeto

TOTEM Vampire
pic by pepeto

ash signing and sketch
pic by HK Legion

ash SNAKE sketch
pic by HK Legion

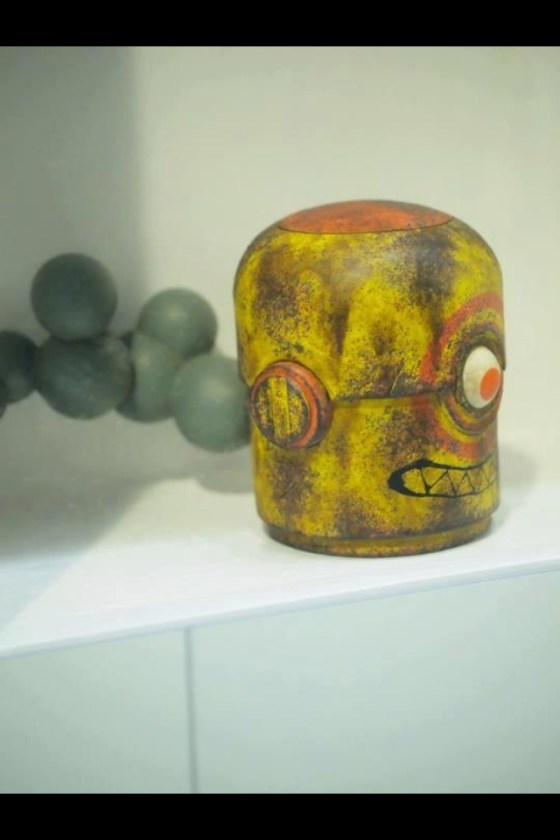
bot sniper
pic by HK Legion

unknown 10 Finger Gang member?
pic by toysdaily

MAK
pic by pepeto

MGS REX.. what a beast!
pic by Pepeto

Ash art
pic by Pepeto

Ash art
pic by pepeto

showroom floor
pic by Pepeto

showroom floor
pic by pepeto

show room floor
pic by pepeto

sweet Solid Gold Death Mask Tshirt
pic by Pepeto

Rufus Dayglow and his statue
pic by Tigerfeet

epic 3A Staff tshirts.. lucky dogs
pic by Cody

TK Gang
image by Sophora
Supreme Nom White
image by 3A

HKV TK
image by HK Legion
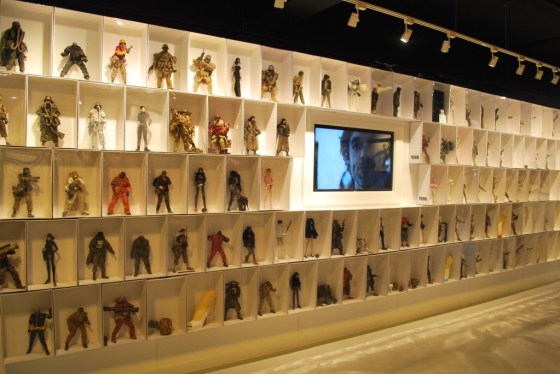
Wall of awesome
image by tigerfeet

totem
pic by tigerfeet

Someones ReVenture haul!
pic by HK Legion

ReVenture TKs
pic by HK Legion

Nabler 1:1 head
pic by HK Legion

Full Size TK
pic by HK Legion

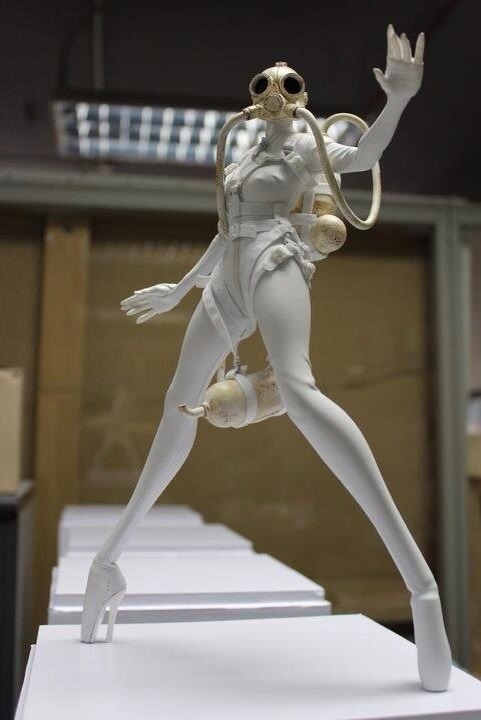
lady sham
pic by HK Legion

Lady Sham back
pic by HK Legion

AP Zombs!
pic by 3A

AP Zombs
pic by 3A

AP Zomb
pic by 3A

Ghost Popbot
pic by 3A

ap Zombs!
pic by 3A

Sunday JC
pic by 3A

Singing Kitty
pic by 3A Blog

HK Exclusive TQs
pic by 3A Blog

Ankou EX with hands!
pic by 3A blog

Rothchild 3AA varient
pic by 3A Blog

Lady Sham
pic by 3AVox

Halo
pic by 3AVox

Metal Gear Ray
pic by 3AVox

Portal figs!

M.a.k pic by 3AVox

Totem
pic by Terence Tam

Mrs Shadow?
pic by Terrence Tam

Real Steel
pic by Terrence Tam

Totem!
image by Cody

totem related?
pic from 3ABlog

tomorrow queens!
pic from 3A Blog

solid gold death mask faux bronz
pic from 3A blog

Ashley Wood's Lampless Leg
(not official title)
photo from HKV2 blog

Rufus Dayglow piece
photo from HKV2 blog

Kow Yokoyama, creator of M.a.K signing some boxes

New TK show exclusives
pic by HK Legion

wall of toys
photo by Dennis Chau

1:1 Peaceday Dropcloth and Square!
pic by Dennis Chau

Event pics
pic by 3A

Ankou EX
pic by Pyromania

TK Masks
pic by 3A

more Halo
pics by 3A

light details on halo
pic by 3A

Lady Sham looking amazing
pic by Pyromania

Feet and 10 finger gang
pic by 3A

Another Real Steel Atom Shot
pic by HK Legion

More MGS Ray
pic by HK Legion

Lady Sham
pic by HK Legion

Ash and the gang
pic by HK Legion

totem undead?
pic by HK Legion

shit weather bleak
pic by HK Legion

Rothchild
pic by HK Legion

pic by HK Legion

King Thumb
pic by HK Legion

Bot Sniper
pic by 3A Legion

1:1 Dropcloth Detail
pic by HK Legion

Atom Detail (wow)
pic by HK Legion

Supreme Nom in hand
pic by HK Legion

TQs.. again:)
pic by HK Legion

Ashley Wood art
pic by Alpred

Ashley Wood Art
pic by Alpred

Portal bot detail
pic by Alpred

Halo Detail
pic by Alpred

Totem
pic by Alpred

Totem
pic by Alpred

Mak K
pic by Alpred

Mak K Detail
pic by Alpred

MGS Rex
pic by Alpred

Black
pic from 3A

De Plume Shirt (wants!)
pic by 3A


