I’m happy to be able to bring you the step by step process of one of Paul’s most impressive custom projects yet, The MK 2.1 Square. I was blown away when I saw the finished piece and asked Paul if he’d mind putting something together for us to glean a little wisdom from. Grab your least favorite toy, an X-acto blade and some super glue and follow along!
Also, please don’t hurt yourself..
Enjoy!
– Knives
MK 2.1 Square
Although folks may not want to do a conversion like this one, hopefully the techniques I have used may help people to do their own thing. Certainly, by my reading of workshop articles on various websites and magazines, I have learned how to do things over the years.
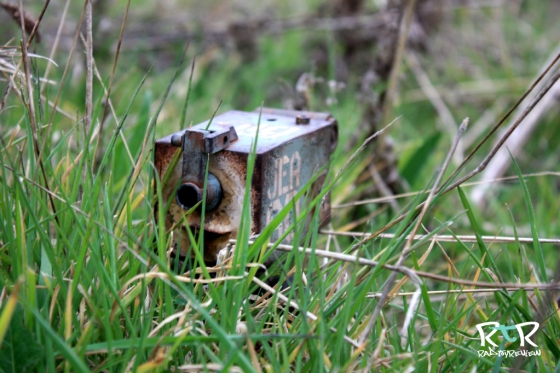
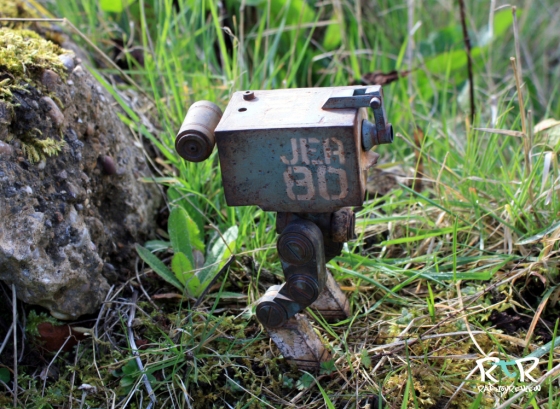
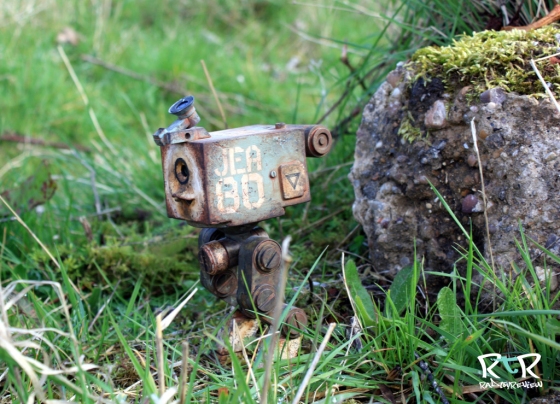
So I wanted to tweak a MK 2 square into something that might be able to move faster and could be used for reconnaissance, intelligence gathering, spotting for snipers etc. When in trouble, it could get out of there very quickly. It would be capable of being out in the field for days and could withstand all weathers. I toyed with the title of a Mk 2.1 Square.
I decided to buy a second JEA Mk 2 Square to work with, because (i) I wanted the converted square to be Joint Earth Army and (ii) the original would act as reference material for the custom build. The aim would be to modify it by reducing the size of the head to reduce it’s weight allowing a better leg power to weight ratio.
Although I wanted to reduce the size of the head I still wanted to leave enough of the front to have all the facial features there and retain the full ball joint mechanism inside. I reckoned I could reduce the width from 75 mm to 45 mm. I was not quite sure by how much I could reduce the height, because of how big the ball socket was, until I opened the head up.
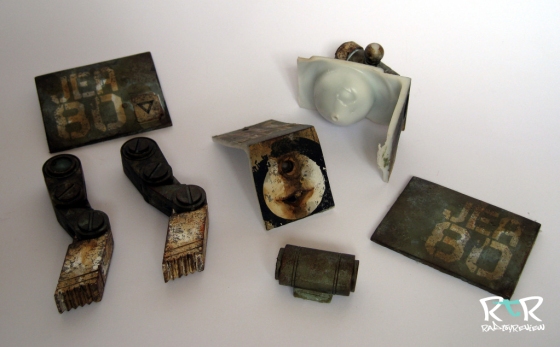
Using a fine marker/pen I drew continuous lines around the head on either side of the face. This would be where the first two cuts would go. With a hack saw I produced four main pieces that I will bond back together later. I was only able to remove 10 mm from the height of the head.
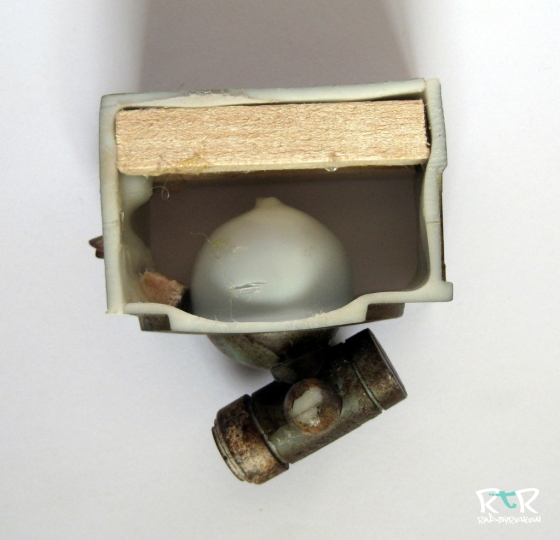
The pieces needed to be tidied up with a Dremel and sandpaper before gluing them together. I realised I may need to strengthen the new structure as I was not sure if the force need to turn the ball joint might break it open. To do this I used pieces of balsa wood bonded inside with super glue, I then strengthened the joints quite crudely using a glue gun.
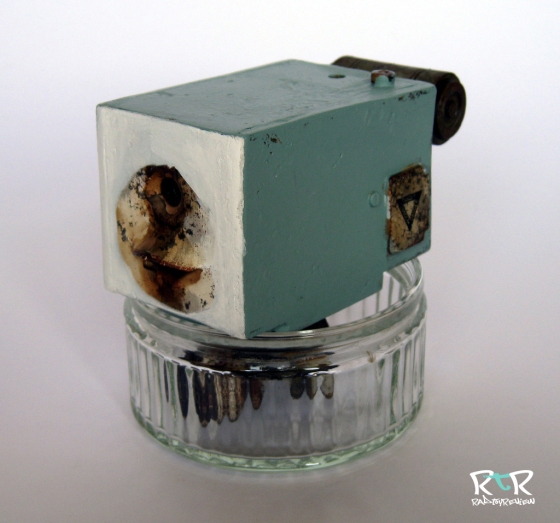
The sides were cut to size and then glued on. Household filler was used to fill all the gaps and then sanded down. The new dimensions of the head/body are width 45 mm, height 50 mm and length (of side) 70 mm compared to the original MK 2 Square which were, width 75 mm, height 60 mm and length (of side) which was the same.
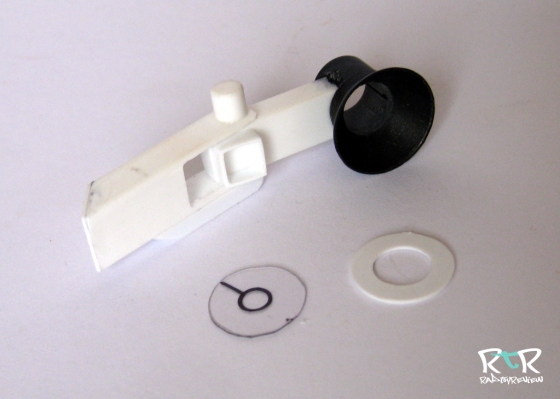
The scope was made from Evergreen Scale Models strip styrene. I used two sizes of square section strip to make the structure, one slightly smaller than the other, so that it could be made to pivot. The pivot is just a piece of circular rod styrene. The eye piece came from my “bits box”. The lens is just clear styrene sheet cut to size. The scope was glued to the head before painting. The eye ring and lens where left off until the Square was finished. The eye ring was sprayed black.
The conversion was always going to be a JEA Square and by using a JEA MK 2 Square I could use a lot of the square without having to paint the entire thing e.g. the legs, face, fuel tank (I assume it’s a fuel tank), body below the head etc. I would have to paint the parts of the head that had been modified. For the base colour it is always a good idea to spray paint to get a good finish but I needed JEA green! Not like it’s immediately available amongst the colours in model stores I’ve visited. I did venture into the realms of using a spray gun a few years back, but the time spent cleaning it was very frustrating.
I therefore elected to use Citadel acrylic paints which I would apply with a broad paint brush to give as smooth a finish as possible. I made up the JEA green with Citadel acrylic paints (available from Games Workshop stores and hobby shops). After a bit of trial and error, I ended up mixing mainly Astronomican Grey, with a little bit of Fenris Grey and Snot Green (don’t blame me it was the names on the pots!!). Other colours could probably be used. Just eyeball it.
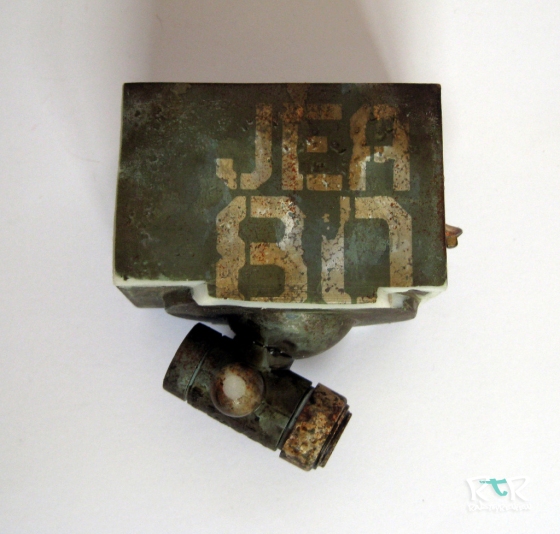
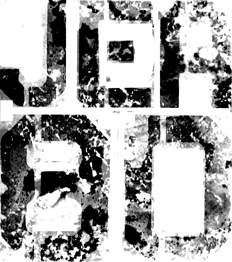
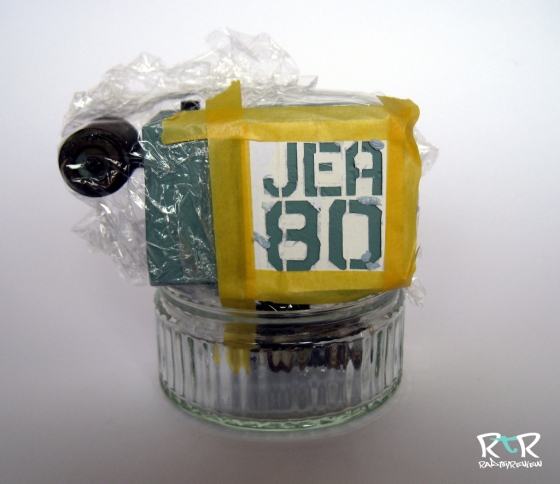
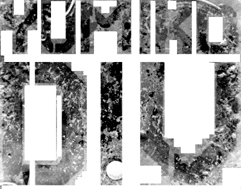
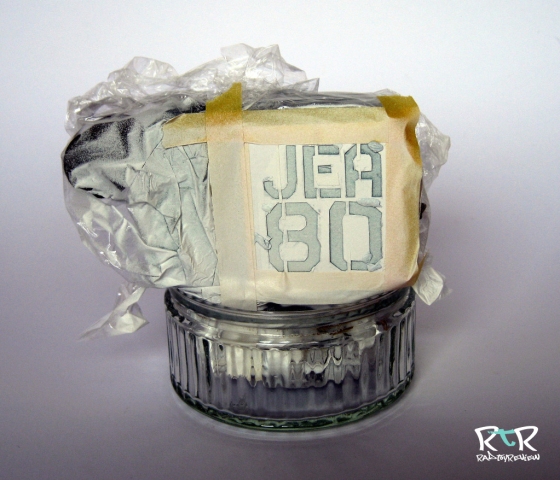
Next, it was time to apply the insignia, of which there were only two different ones ‘JEA 80’ and ‘YUMIKO DIV’. I photographed these on my original Mk 2 Square. Using Photoshop, I reduced the two insignia in size to better fit the new head. They were then tweaked using ‘brightness/contrast’, ‘desaturate’ and ‘invert’. They were printed and cut out with a sharp scalpel. I did need to suspend some of the centres of certain letters by leaving a thin strip of paper acting as a bridge. I also made a few mistakes, but corrected them with small pieces of masking tape. Each stencil in turn was placed in position and stuck down with Tamiya masking tape, I used cling film to cover the rest of the square. Just before spraying I noticed that edges were lifting around some of the letters and numbers. To correct this I used small pieces of Blu Tack, which while not perfect isn’t really a problem as the insignia on ThreeA toys are often broken up to simulate weathering. I could correct the letters and number later if necessary with white paint.
To apply the insignia I used Humbrol acrylic matt white aerosol spray. Having applied one insignia I had to strip down the masking and apply the next. I needed to use ‘JEA 80’ twice as it was on both sides of the head.
The next job was weathering. ThreeA toys can vary in weathering and the second JEA Mk2 Square, which I converted, was more weathered than my original one. They legs were certainly more brown, so I would have to weather the head and scope to match in with the legs. Again, I would use Citadel acrylic paints. I started by applying a thin wash of Dark Flesh (which is a reasonable mid rust colour) mixed with a little Chaos Black. The colour was blended into the white areas of the face. During this early stage I painted on a ring of black around the eye. I did this by cutting out a paper stencil, with two circles the inner one being held in place by thin strips of paper. The stencil, cut to size, was then taped over the face and I then very carefully painted between the circles. When the stencil was removed, where the thin paper strip had been, was painted over.
The edges of the head and scope were stippled with small pieces of coarse sponge dipped in a mixture of Scorched Brown mixed with Chaos Black. In parts the same was done with grey I mixed from Skull White and Chaos Black to represent paint chips and again with Blazing Orange mixed with a little Dark Flesh to represent rust spots. A fine paint brush was also used with these three colours to refine and emphasize some of the stippling as well as to pick out the scratches and dents on the sides of the head. The rust colour was used as wash to run into depressions and as trails from areas here rust might have gathered.
For finishing touches the inside of the scope was painted back and the lens and eye ring glued in place. I also added an eye lens after painting the eye black. I used a punch (see above picture) to cut out a 6 mm disc from shiny coloured plastic, bought as cheap folders for notes. I got the punches on a well known online auction site, as set of sizes from 3 mm to 8mm, which work for other eye sockets I have used them for. They will stay in place pretty well if you don’t want to risk permanent change to your 3A toy, but a touch of super glue on the edge will secure them even better.
Thanks for your interest in reading this article.
We hope you enjoyed the latest Workshop. Big thanks to Paul for once again putting this together for us.
We’d love to hear from you and check out what kind of customs you’re working on! Send us a shot of your latest custom work with a brief description to radtoyreview@gmail.com.
Hit us up on Facebook or Twitter pages to stay updated whenever we post new Workshops and epic toy reviews!
Until next time!




Freaking COOL. 🙂
LikeLike