

A while ago we posted a step-by-step workshop provided by the ever talented, Simon ‘Goatballs’ Be! To this day, it’s one of the most popular we’ve ever featured. It seems folks can’t get enough of his 1/6 scale wooden bats! Well, today we’re excited to post a follow up, this time by our friend Michael ‘Bubo’ Reilly who worked to cast and produce copies of Goat’s original bat sculpts in resin.
I’m personally very excited for this little walk-through as it talks about a process that I’ve been interested in for a long while. With a little hand-holding.. I might be brave enough to finally try it myself.
Welcome back to RtR’s Workshop, and enjoy!
– Knives
Alright, here’s a list of some of the materials you’ll probably want to track down before you get started.
- Foam Core, for building mold walls. You can also use legos, acrylic plastic, or any other non-porous material of your choosing that’s stiff enough to form a wall.
- 1/8″ thick or thicker wooden (or plastic) boards, to evenly distribute tension on mold when bound.
- Super Glue (CA Glue), for gluing gates/vents onto model (bat) & onto mold floor.
- Hot Melt Glue (& gun), for gluing walls of mold together.
- Toothpicks (or long sharp pokey thing), for getting air bubbles out of silicone mold
- Electrical tape
- Disposable cups
- Popsicle sticks
- Rubber gloves
- Monojet Oral 10ml syringes
.. and here’s some of the tools I use, also worth looking into.
Tools:
- Razor/Ruler, for measuring & cutting mold box
- Hot Glue Gun, to glue mold together
- Scale, a gram scale to weigh out materials
- Air Compressor
- Vacuum Chamber & Vacuum pump, to de-gas silicone
- Pressure Pot, a chamber that eliminates any remaining bubbles
- Old sander or piece of vibrating equipment (to vibrate pressure pot)
- Flat Chisel & Scalpel (x-acto knife), for cutting mold open
Before we begin, let me say that this is but one of many ways to build a mold. The construction of your mold will depend on the piece you are making a mold of, what kind of process you’ll use to cast it, and what material you will be casting with. For the sake of this project, the item being molded is a toy, it is small and the mold form is very simple.
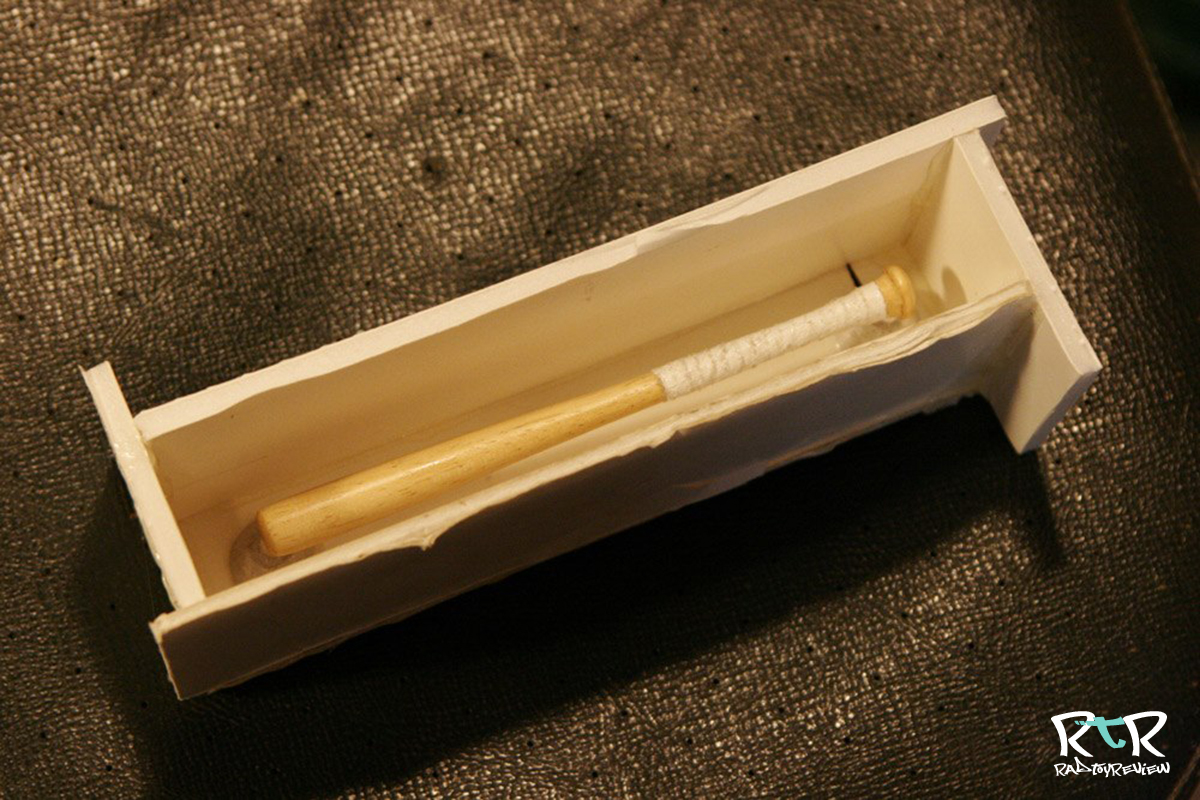
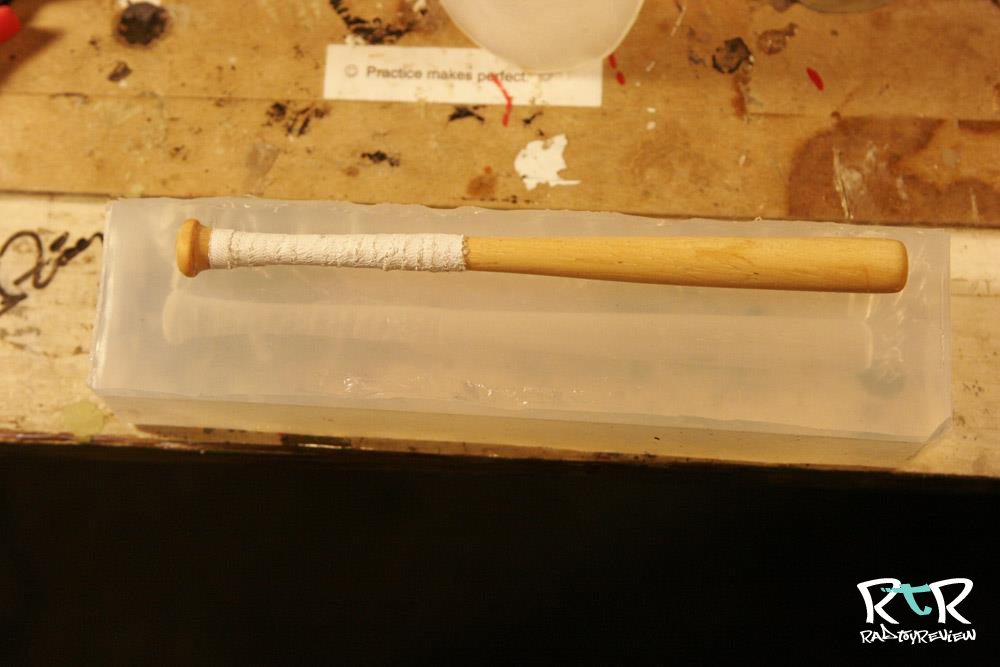
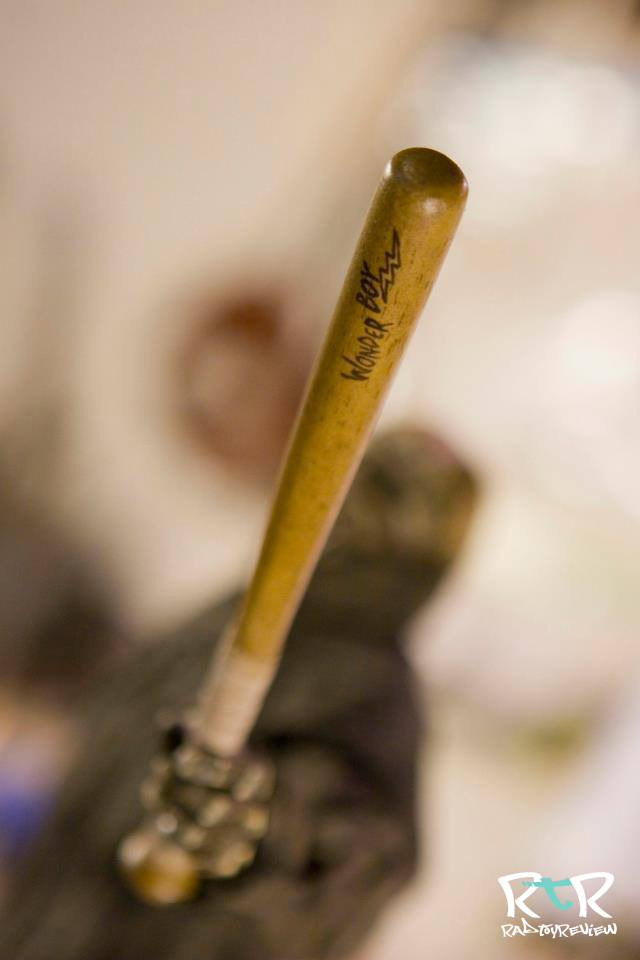
To kick things off, here’s a shot of Simon Be’s original wooden bat, with an added grip Michael made with medical tape.

I have made my own resin pour spouts by utilizing the discarded remnants of past castings. They were originally built from wood and modeling clay. Note the large cone at the base of the spouts, this feature holds resin above the poured part, and helps provide enough resin to feed the mold under pressure. The first step is to glue the item you’ll be casting to resin spouts and then to a foam-core base. Use Super Glue to bond gates & vents to your item. Gates are used to pour material into your mold, vents let air escape as it fills. Always try to have your vent at the highest point, and your gate at the lowest. In most cases, the mold can be held at an angle or rotated, in order to push the air out while injecting the resin.Use super glue to glue item to mold base.

Now to create your mold –
- Build mold walls using foam core & hot melt glue. (or legos, acrylic plastic/other non-porous material, etc)
- Make sure your mold is at least 1/2″ larger than your item (in this case, a bat), and at least 3/4″ deeper than the item is high (to allow plenty of room for silicone above the item).
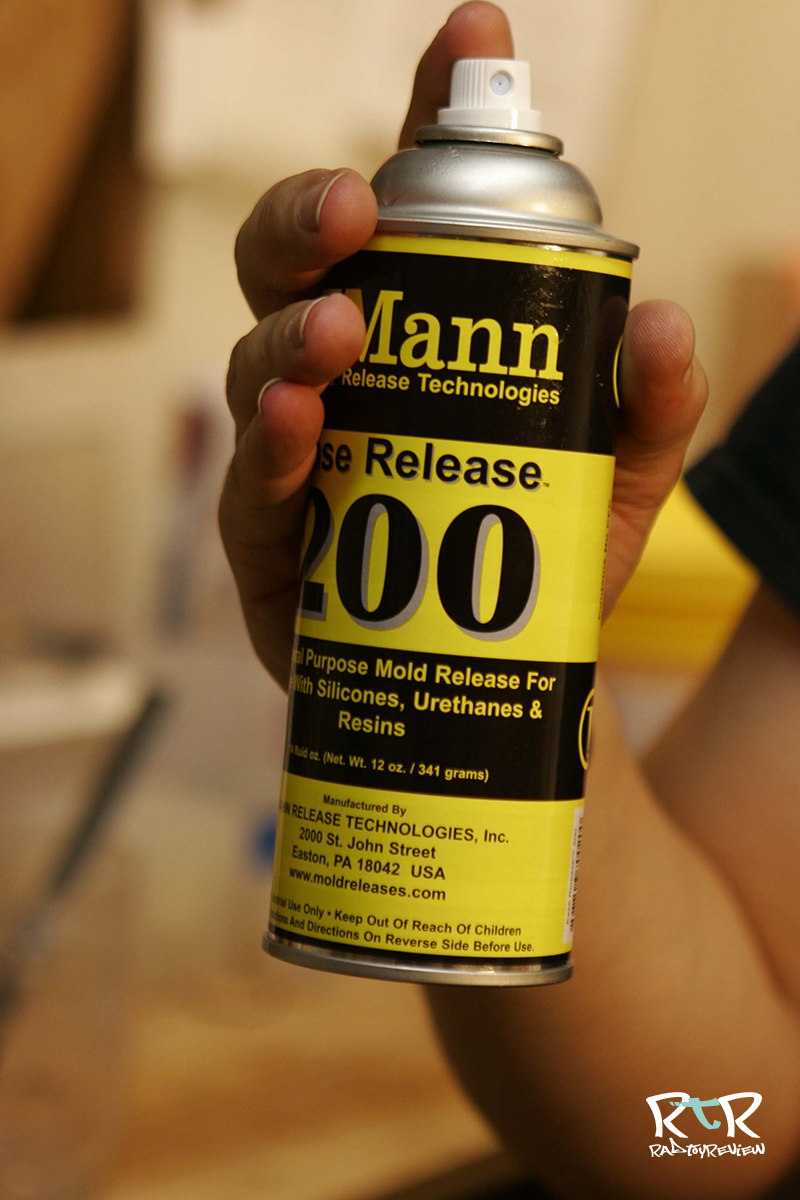
- Spray item inside mold with mold release.
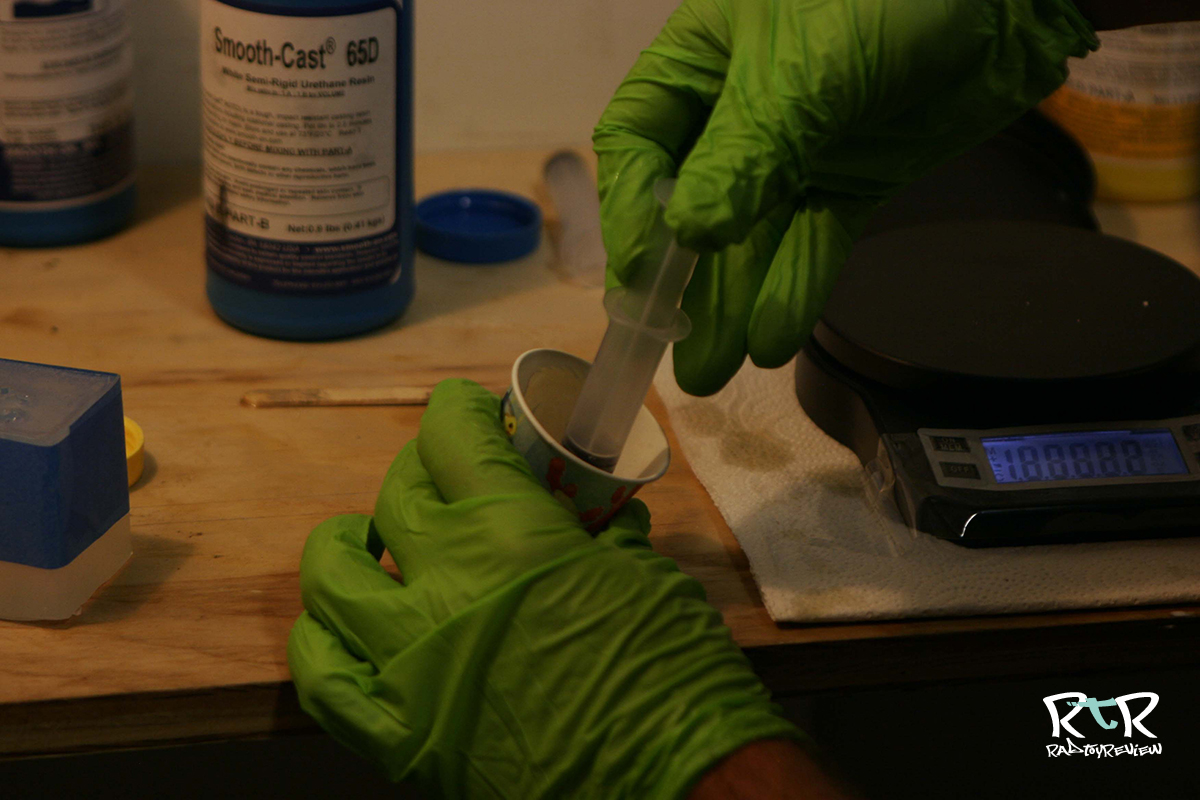
- Use your best judgement to gauge how much silicone you will need, measure it out per the directions, and then mix well.
- Transfer to a second container that is approximately 4-6 times the volume of the material being mixed.
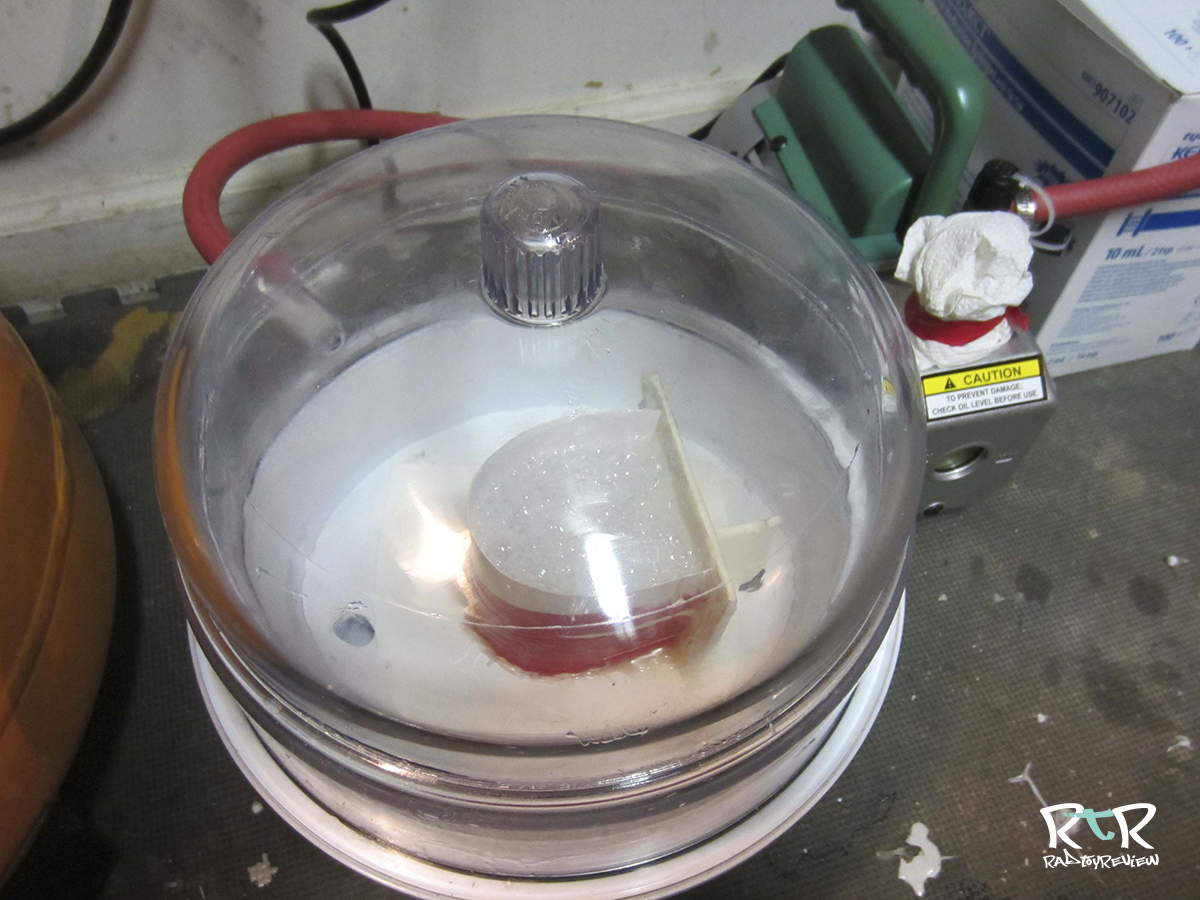
- Place silicone into vacuum chamber & de-gas until the silicone ‘boils’ up & then collapses back down. There will still be air bubbles, but most should come out.
- Set your mold on the ground, and slowly pour the silicone from as high as possible. pour in a single, slow, even, thin stream. the thinner the better, as it will force more bubbles to pop on the way to the mold. Pour into a corner, or empty section of the mold and allow the level of the silicone to rise on its own.
- Once poured, set mold into pressure pot, & put under 60psi. of pressure (or less if your pot will not go that high). I have an old sander permanently attached to my pressure pot stool, and i turn it on at this point to gently vibrate the pressure pot. this helps move air to the surface of the mold. leave for about 3-5 minutes, then release the pressure & pull your mold out.
Important Note: It is imperative that you make sure the surface inside your pressure pot is perfectly level. I sometimes stack objects inside the pot, if the mold is terribly small, so that i have to use less pressure/air to fill it. But i always take a moment to measure & adjust it back to level. This simple precaution will ensure that the bottom of your mold is level, and therefore your resin will vent correctly from the mold while curing the pressure pot.

- Inspect for air bubbles. If you find any air bubbles, use a pointy stick (toothpick, etc.) to remove them. use a small stirring motion, as if your toothpick were a very small tornado, and the air bubbles will ride the fluid vortex away from your item being molded. Don’t get too frustrated if you can’t get them all, this takes some practice.
- Put the mold back into the pressure pot & put under 60psi. of pressure again. This is very important step if you plan on using the mold in the pressure pot to make casts – it must be pressurized while it cures. At this point, I usually take a break and leave the mold for at least 12-16 hours.

- After 12-16 hours, remove the mold from the pot & set at room temperature to allow it to cure another 6-8 hours. At this time, your mold should be well cured and you can remove the silicone mold from your mold box. (Your times vary by the thickness of your mold).
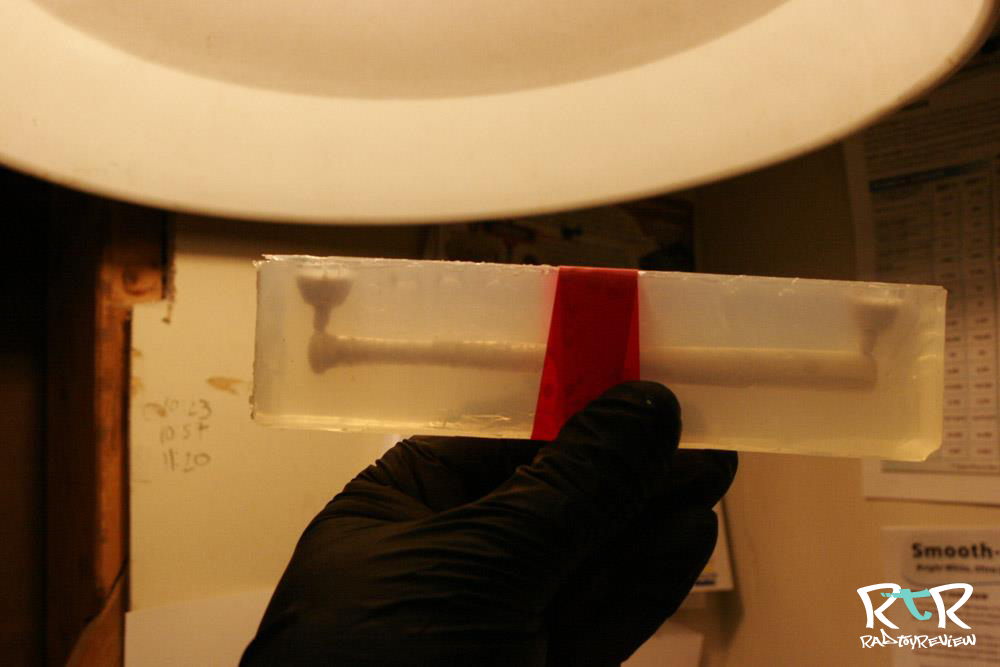
- Using a flat chisel & scalpel (xacto) cut the mold open. Do not cut a straight line, cut jagged, uneven lines. Twist the chisel as you cut so that the walls of the cut-line undulate in and out, back & forth like a saw. The more irregularity you can build into your cuts, the better the mold halves will lock together & not slip on each other. A mold that slips will not align correctly and give you wonky casts. Be careful not to cut your original item.

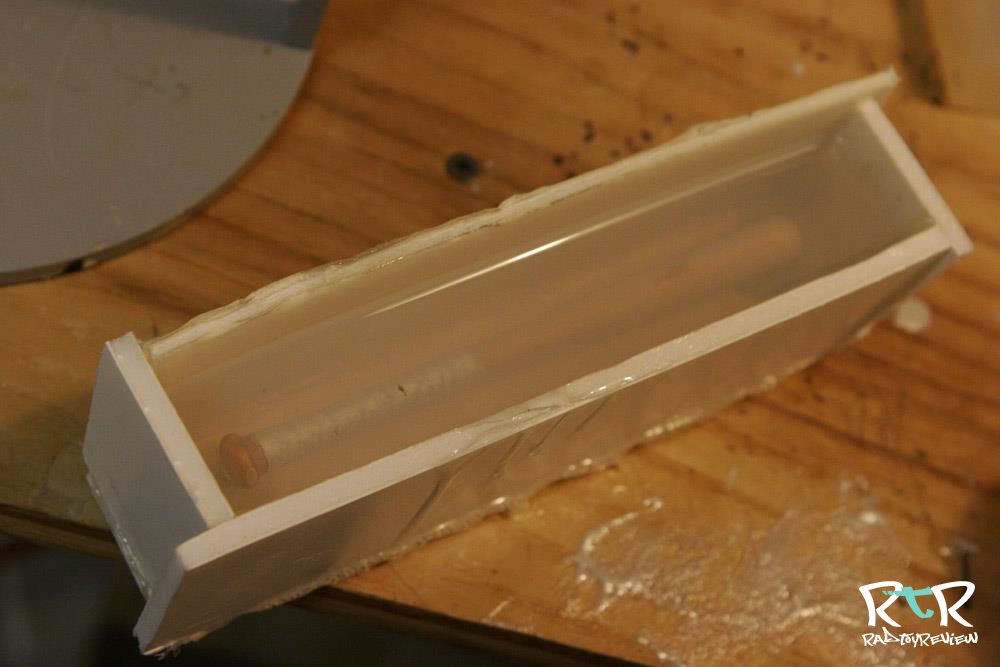
- Remove original item, & clean mold of any loose debris. Spray a light coat of mold release into mold & let sit for 5 minutes. Here’s the original & the mold.
- Now cut two pieces of wooden board (or 1/8th or thicker, plastic etc.) to fit either side of the mold. Put mold halves together and place wooden/reinforcement boards on either side of the mold. Use electrical tape to hold the mold together. Do not pull the tape too hard, as it will stretch & put far too much force on your mold. You want it to be firmly held together, but not squeezed so hard that it deforms.


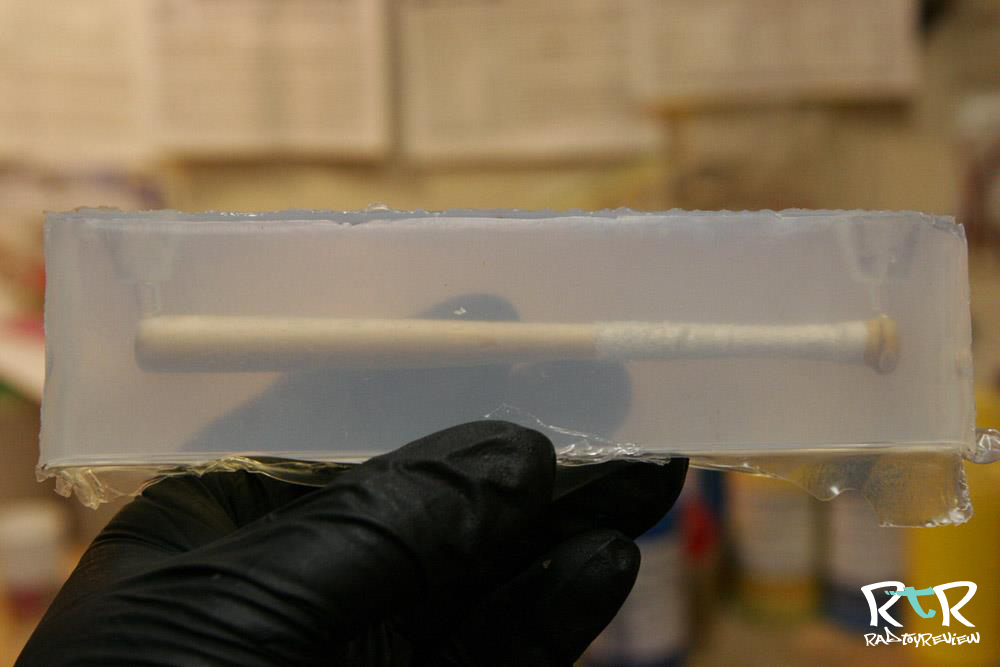
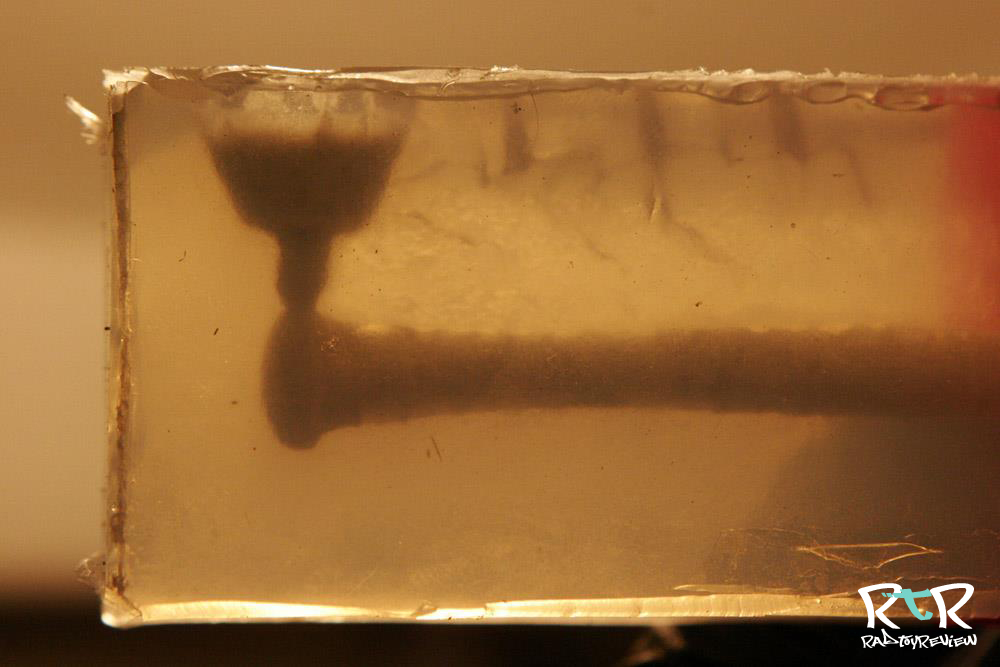
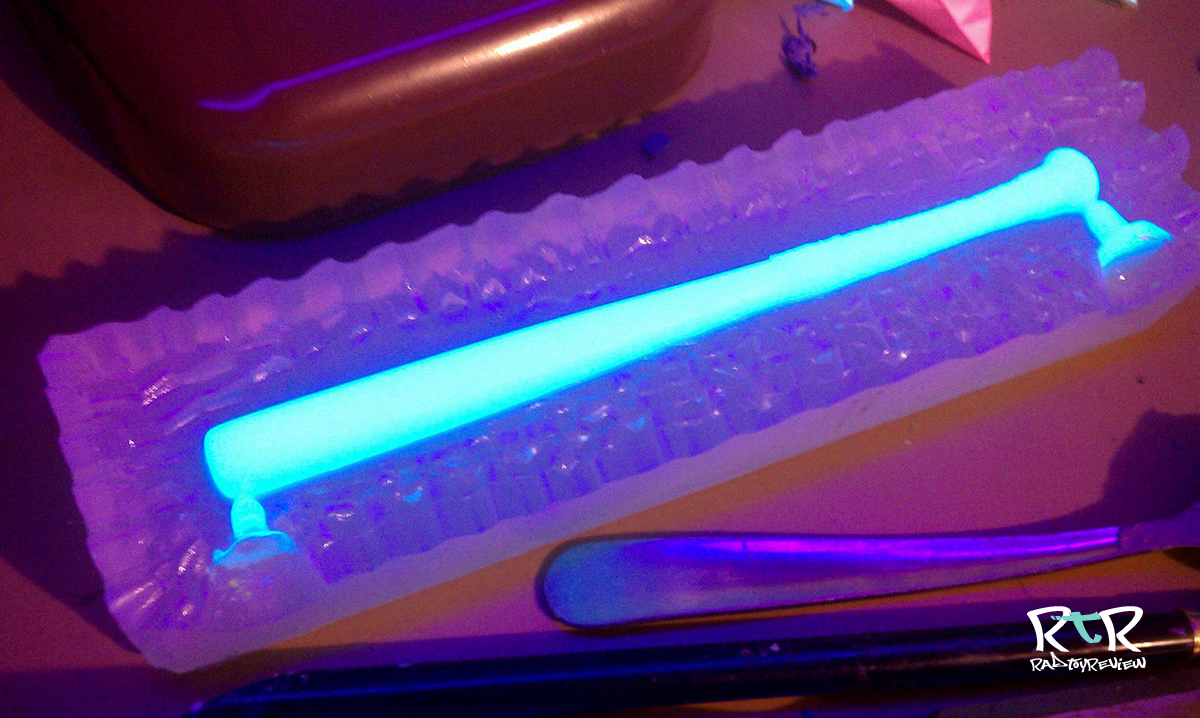
- Use another syringe to suck the mixed resin up, & then to inject it into your mold. using clear silicone means you can watch the resin go in, & trouble shoot any trapped air you might be having.

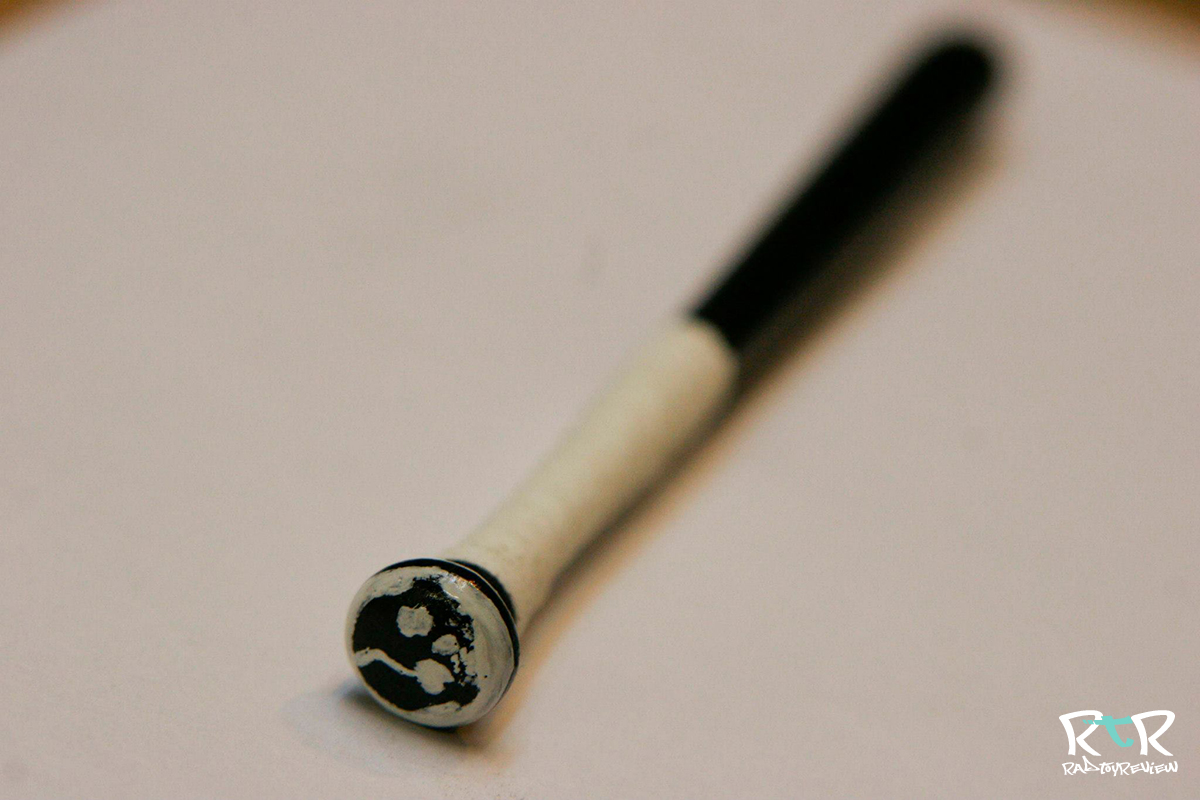
- Below is a close-up of the first fill with resin, which was injected using an oral syringe.
- Set mold into pressure pot & put under 60psi for 60+ minutes before removing from pressure chamber (check the cure-time for your resin being used) and turn your sander back on (for at least a few minutes). Use your stir-cup as a good gauge of how far along your resin is. You want the resin to be firm or hard before removing from the mold, to prevent warping or sagging of the part.

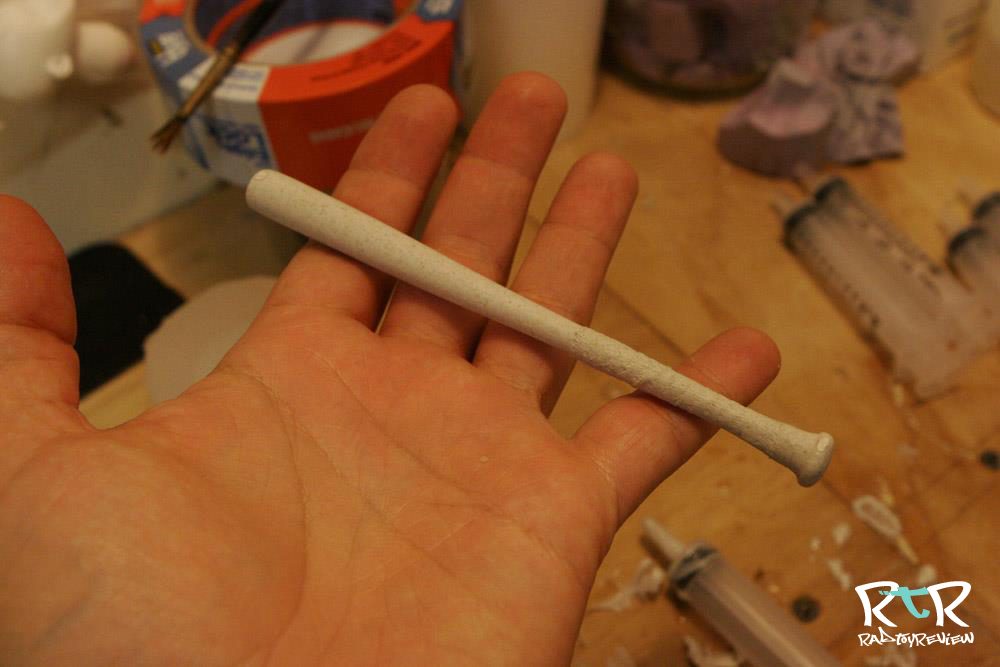
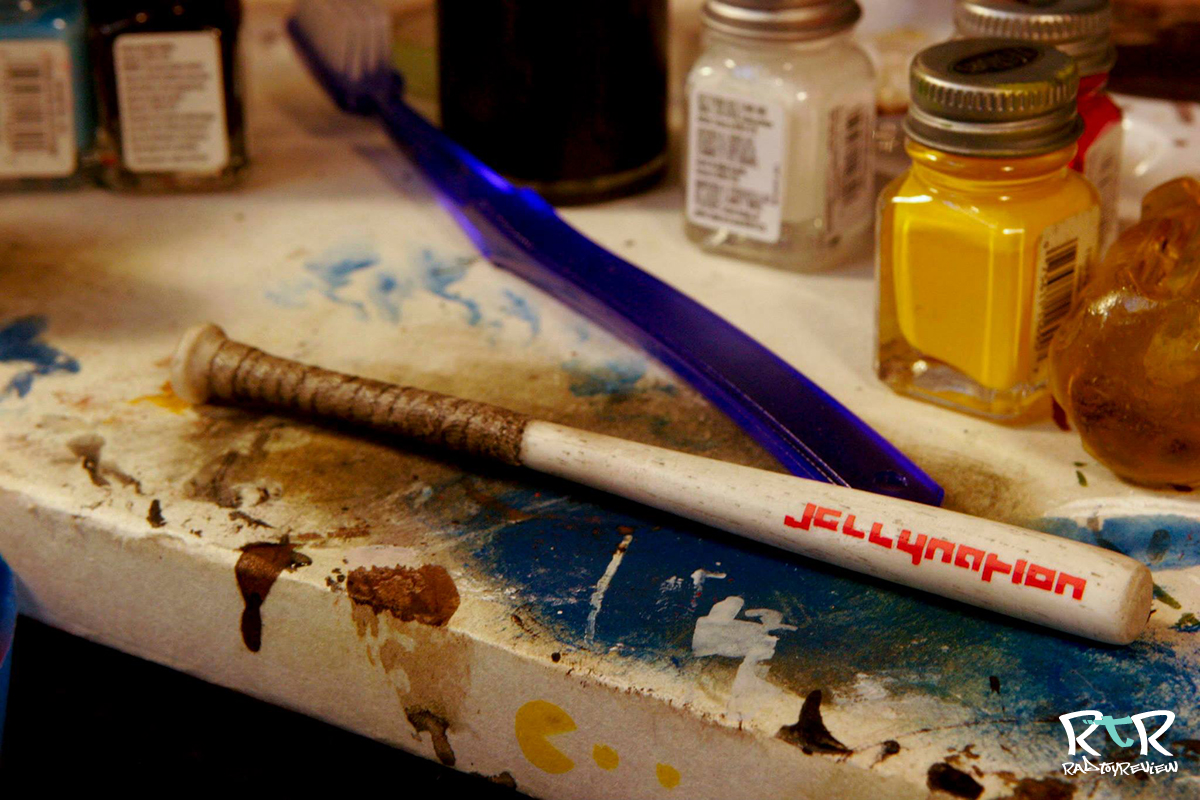
- Remove from the resin and detached from the spouts, we’ve got our resin copy. You can see every detail of the original, included the wood grain & grip texture. To make more, repeat steps…
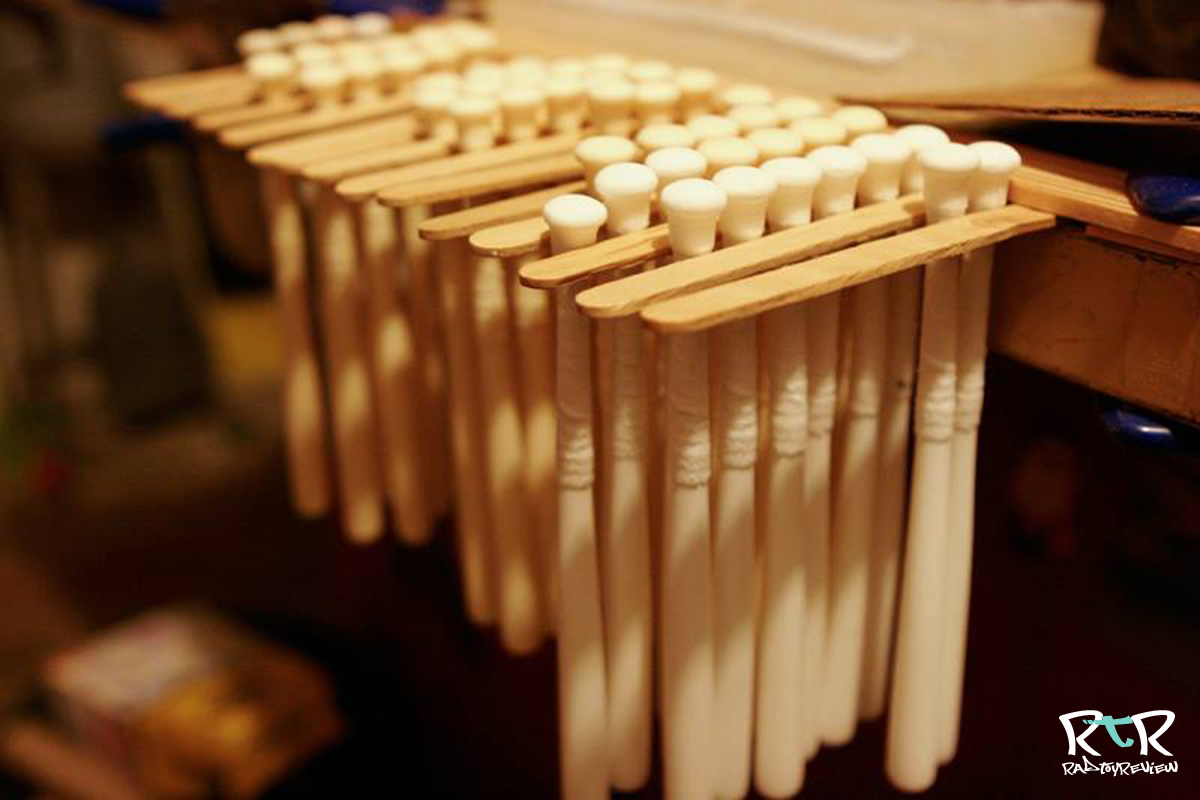
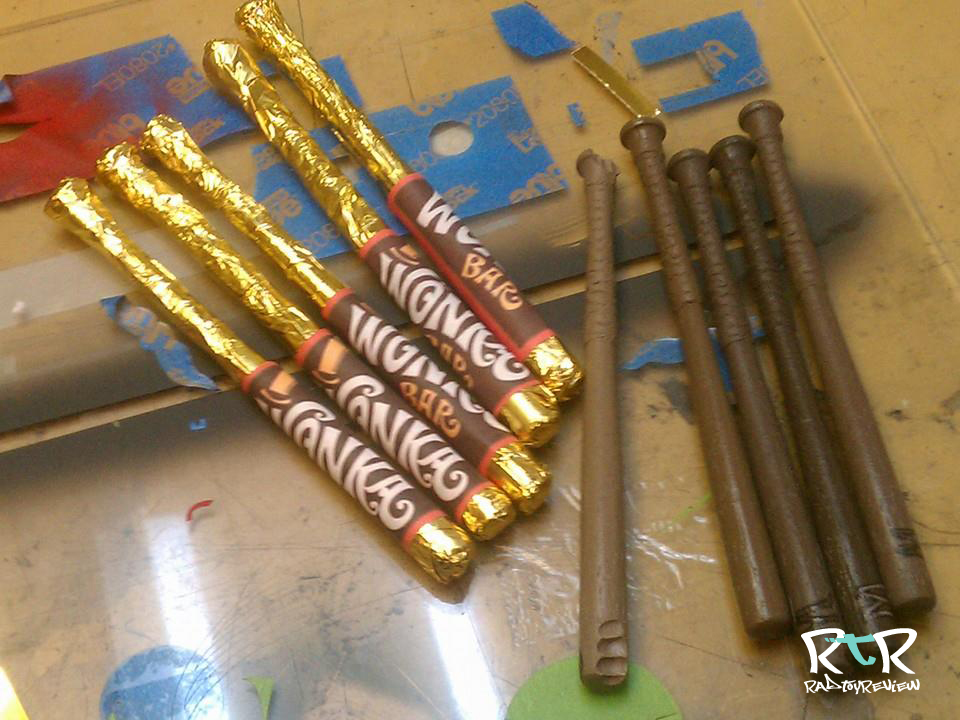
- Resin will still be pliable for another few hours, so take care in how you store your item until then. I built a special bat-rack to house all the resin after it came out of the mold. Hanging them on the rack until fully cured, keeping the bats as straight as possible.

Thanks everyone!
– Bubo

We hope you’ve enjoyed the workshop and found it helpful to get you on your way to casting your own props!
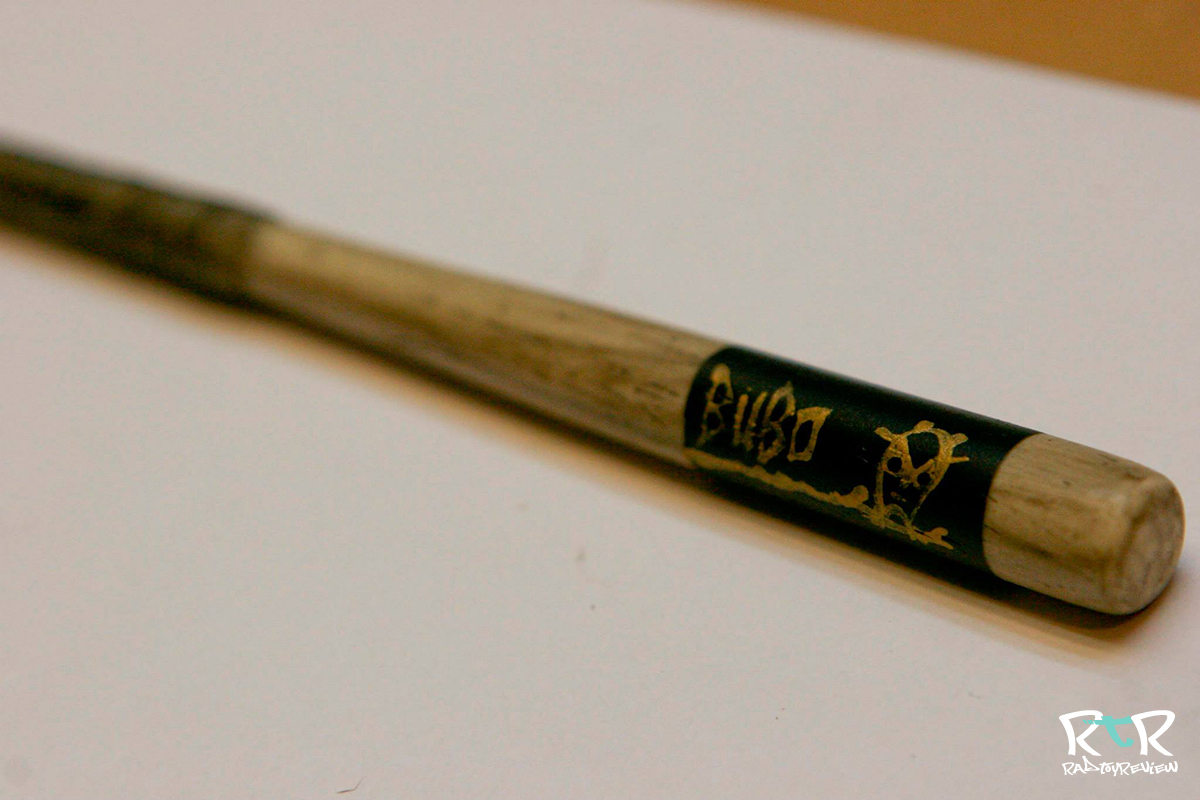
Please take a peak at this gallery stuffed full of more custom goodness from Bubo’s project. Big thanks to Michael for putting this together and once again to Simon for his legendary bat skillz.. I can’t wait to see what they do next.
*All photos by Michael ‘Bubo’ Reilly